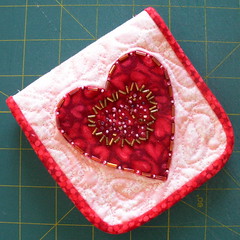
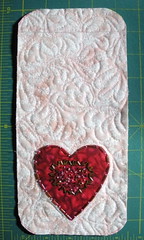
 This sewing kit measures 4 by 4.5 inches, has three pockets and two felt pages inside. It's an embellished, quilted version of a quilt shop giveaway that I have been using for years. When I recently came across the appliquéd, beaded heart–the class project from a workshop with Ann Fahl, I decided to put it to a functional use. A miniature block or stitchery sample ... or even a small piece of beautiful fabric would also be wonderful to feature on the cover.
 This little pocket was made as a prize for the Block Lotto this month, but you can easily make your own–I already want to make another one . . . for ME. Here's how.
Cutting the Fabrics
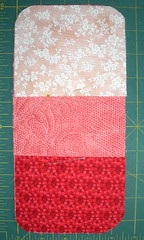
- Two 5" x 10" rectangles of fabric for the cover. Your outer cover might be appliquéd, pieced, embroidered, etc. You'll also need a piece of batting cut to the same size.
- For the pockets, one 4-1/2" x 6-12" rectangle and one 4-1/2" x 7-1/2"rectangle. Fold these in half, WRONG sides together and press.
- One rectangle of felt cut at 3-3/4" x 6-3/4"
- Approximately 28" of binding. I used 1-3/4" wide, double-fold binding cut on the bias.
Making the Kit
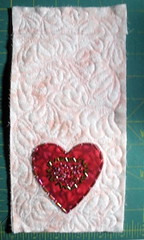
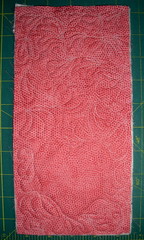
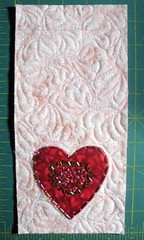
1. Layer the two large rectangle with batting and quilt as directed. I think this is a great size to try one of Leah Day's 365 freemotion filler patterns that she's been blogging. As you can see, it got a little challenging for me when I got close to that beaded heart. That's OK, the pocket will cover it.
2. Trim the quilted piece to 9-1/2" x 4-1/2"
3. Round the corners. I used a large Rx container (which now contains quilting pins) as a template to ensure all my corners match.

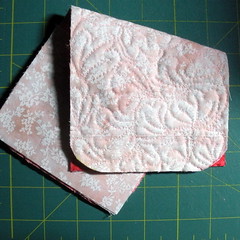
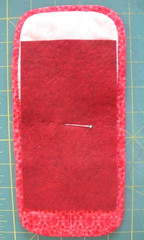
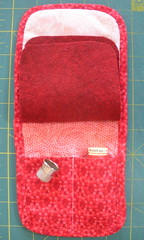
4. Lay the cover on the table, inside up and then position the two folded and pressed pocket fabrics at each end, with the folded side toward the middle. Pin in place.
5. Flip over the piece and trim the corners of the pocket fabric even with those on the quilted cover.

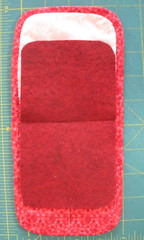
6. Stitch a line through the smaller pocket to create two sections and then bind the edges. I used bias binding to make rounding the corners easy-peasy.
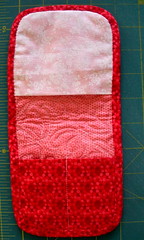
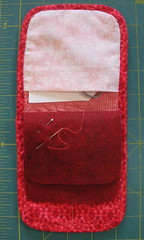
7. Center the flannel on the inside of the kit.
8. Sew it to the kit through the center
9. Trim the corners of the felt to match the rounded corners of the kit.

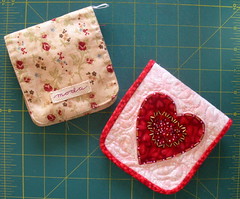
It was so fast and easy, I know I'll be making more of these. This one came together last night, while I watched the Olympics on TV. Here's my well used original and the embellished, quilted copy.
And here's how I fill mine: small scissors, a packet of needles and handpiecing templates in the large pocket; thimble and a spool of thread in the smaller double pockets; a few parked needles and pins stuck into the felt, with small blocks or cut pieces inside the felt pages. When I was working on an appliqué project, I made a small sandpaper board that fit in the large pocket, too.
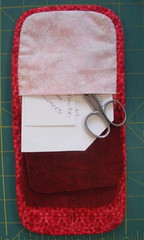
How will you fill yours?