Thursday, February 18, 2010

My Portable Handwork Sewing Kit

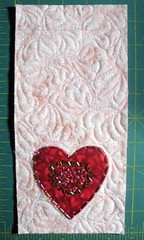
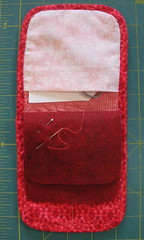
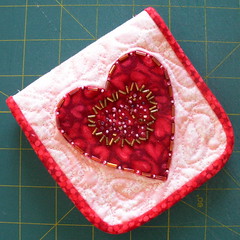
4 x 4-1/2 Inches hand quilting kitThis sewing kit measures 4 by 4.5 inches, has three pockets and two felt pages inside. It's an embellished, quilted version of a quilt shop giveaway that I have been using for years. When I recently came across the appliquéd, beaded heart–the class project from a workshop with Ann Fahl, I decided to put it to a functional use. A miniature block or stitchery sample ... or even a small piece of beautiful fabric would also be wonderful to feature on the cover.

This little pocket was made as a prize for the Block Lotto this month, but you can easily make your own–I already want to make another one . . . for ME.   Here's how.

Cutting the Fabrics

  • Two 5" x 10" rectangles of fabric for the cover.  Your outer cover might be appliquéd, pieced, embroidered, etc.  You'll also need a piece of batting cut to the same size.
  • For the pockets, one 4-1/2" x 6-12" rectangle and one 4-1/2" x 7-1/2"rectangle. Fold these in half, WRONG sides together and press.
  • One rectangle of felt cut at 3-3/4" x 6-3/4"
  • Approximately 28" of binding.  I used 1-3/4" wide, double-fold binding cut on the bias.
Making the Kit

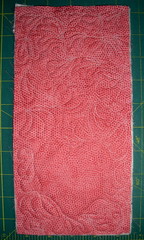
1. Layer the two large rectangle with batting and quilt as directed.  I think this is a great size to try one of Leah Day's 365 freemotion filler patterns that she's been blogging.  As you can see, it got a little challenging for me when I got close to that beaded heart. That's OK, the pocket will cover it.

2. Trim the quilted piece to 9-1/2" x 4-1/2" 
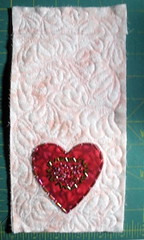
"Quilt as desired" Inside cover Trim to size

3. Round the corners.  I used a large Rx container (which now contains quilting pins) as a template to ensure all my corners match.

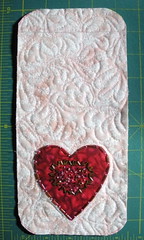
Round the corners With corners trimmed

4. Lay the cover on the table, inside up and then position the two folded and pressed pocket fabrics at each end, with the folded side toward the middle. Pin in place.

5. Flip over the piece and trim the corners of the pocket fabric even with those on the quilted cover.
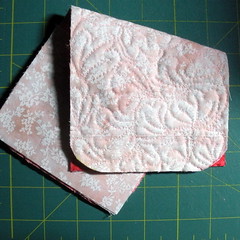
Lay pockets in place and pin Trim pocket corners

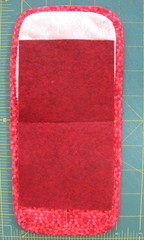
6. Stitch a line through the smaller pocket to create two sections and then bind the edges. I used bias binding to make rounding the corners easy-peasy.
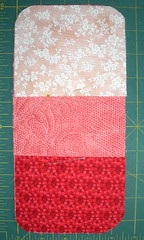
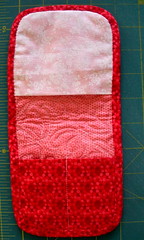
With pockets trimmed Stitched and Bound

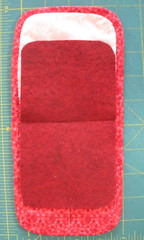
7. Center the flannel on the inside of the kit.

8. Sew it to the kit through the center

9. Trim the corners of the felt to match the rounded corners of the kit.
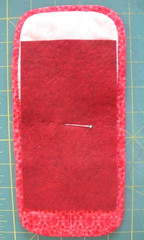
Center felt on inside Stitch acoss the middle Trim corners of felt to echo curves of kit

It was so fast and easy, I know I'll be making more of these. This one came together last night, while I watched the Olympics on TV. Here's my well used original and the embellished, quilted copy.
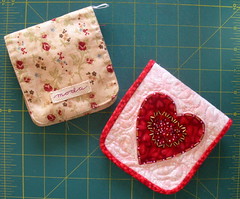
The inspiration and the copy

And here's  how I fill mine: small scissors, a packet of needles and handpiecing templates in the large pocket; thimble and a spool of thread in the smaller double pockets; a few parked needles and pins stuck into the felt, with small blocks or cut pieces inside the felt pages. When I was working on an appliqué project, I made a small sandpaper board that fit in the large pocket, too.
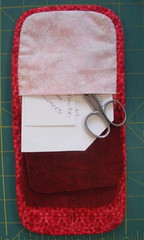
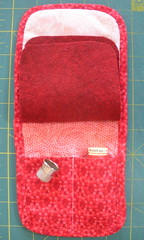
Filling the kit Double pocket Using the felt

How will you fill yours?
Saturday, December 26, 2009

Let's Play Tic-Tac-Toe

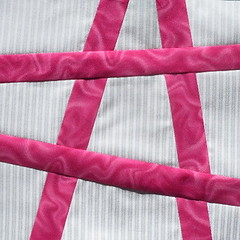
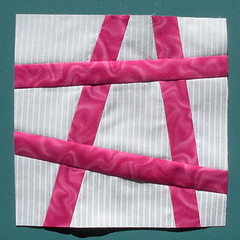
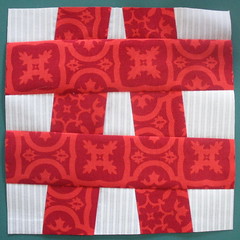
Tic-Tac-Toe Block Although I'm sure I've seen it used in quilts, my source for this block is my dreams. A couple days ago, it appeared in my dreams and woke up thinking this could be a gentle entry into the more liberated style of blocks we'll be making for the Block Lotto in 2010.

I think this Tic-Tac-Toe block could be the basis of a great kid's quilt–can't you see some x's and o's quilting into those "squares"? But I can also see if used in a more adult modern quilt.
Fabrics & Cutting

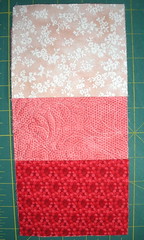
For an 8.5 inch (8 inches, finished size) block, you'll need a 9-to-10 inch square of background fabric and a width of fabric (WOF), cut selvedge-to-selvedge 1-to-2.5 inches wide. In this example, I started with the 10 inch square and 1.5 inch strip on the left. If you are using FQs, just cut two 20-ish inch wdiths, like the photo on the right.

Fabric Using FQs

Making the Block

(Remember you can click any of the photos for a larger image and closer look.)

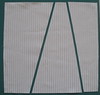
Step 1
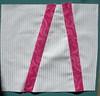
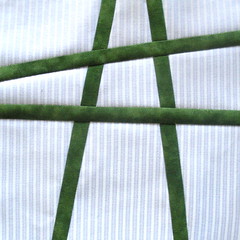
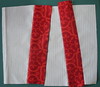
1. Begin with the background square. Make two straight cuts from top to bottom edges. While your lines need to be straight, they can be as slanted as you like. You may want to keep them at least 2 inches from the corners and no closer than 1 inch to each other.

Step 2
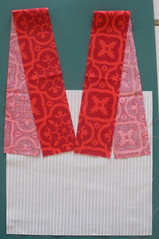
2. Insert the bright strip into each of your cuts, sew it along both edges to the background to "re-assemble" the square and press the seams toward the strips.


Step 3
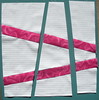
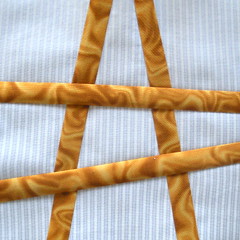
3. Rotate the block 90 degrees and repeat the process. Make two straight edge-to-edge cuts from top to bottom.


Step 4
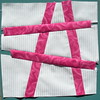
4. Insert strips and press seams toward the bright strips. Don't worry if they don't reach edge-to-edge, because you'll be squaring-up and trimming the block to final size. Do pay attention lining up the background pieces so that your first strips end up being aligned.

5. Square and trim the block to 8.5 inches. If you started with a 10 inch background square, like I did, you'll have a lot of wiggle room to make an artistic cut . . . just make sure that you end up with 9 background "squares" in your Tic-Tac-Toe grid (and that the smallest will not disappear in a seam allowance when it's sewn into a quilt.

Step 5

Design Considerations

If you make a block with wider strips, you need to be careful that as the block-in-progress grows wider and taller, that, when you trim it to size (in this case 8.5 inches square), that you end up with a complete tic-tac-toe grid with 9 background spaces. In the example below, I started with a 10 inch square of background and 2.5 inch bright strips.


Fat Strips Extra Step
As I was adding my fat strips (2.5 inches), I realized that my block had become too wide, so I removed some background from the center before adding the final seam.

Fat Strips Step 2
After removing part of the center, I measured (using a large square ruler) to make sure that, after it was trimmed to 8.5 inches square, I would end up with 9 background squares (and a complete tic-tac-toe grid), then I stitched it together and continued.

Fat Strips Step 3
I also measured when deciding where to make the second pair of slices to make sure to end up with a complete tic-tac-toe block when it was trimmed to size.


As you can see, if you fat strips, your block will end up consisting of more featured bright fabric and less background.

Fat Strips Step 4


Another design consideration is the angle of the cuts you make. The greater the angle, the more likely it will be that your "lines" would exactly match up, like in this block.

Sophie's Tic-Tac-Toe Block #6

It isn't a mistake, it's just what happens. Line up the strips as well as possible and don't worry if they aren't perfect.


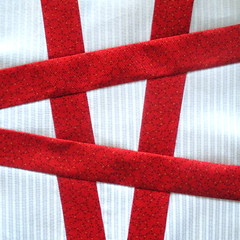
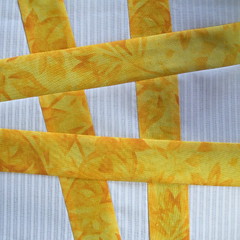
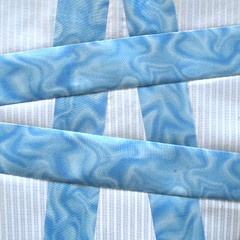
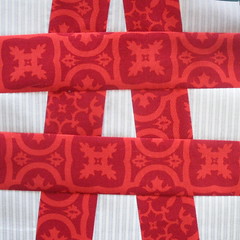
To see a comparison of using different sized strips, check out mine below. Here are a selection of blocks, side-by-side, made with strips that are, from top-to-bottom, left-to-right, 1 inch (green), 1.25 inch (gold), 1.5 inch (pink), 1.75 inch (red) 2 inches (yellow) 2.25 inches (blue) and 2.5 inches (red-orange).


Sophie's Tic-Tac-Toe Block #8 Sophie's Tic-Tac-Toe Block #7
Tic-Tac-Toe BlockSophie's Tic-Tac-Toe Block #5
Tic-Tac-Toe Block made with 2 inch strip Sophie's Tic-Tac-Toe Block #4
Block made with 2.5 Inch strips

Wednesday, October 14, 2009

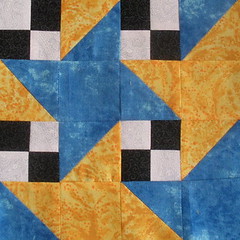
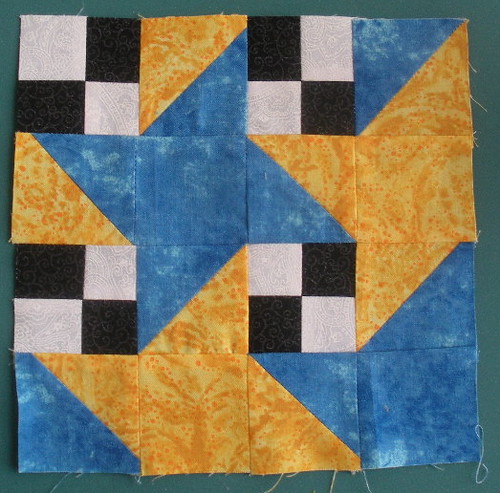
Milky Way Quilt Block

Milky Way Block
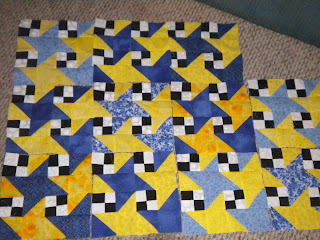
Milky Way is one of those quilt blocks that really seems to be more like a block and a half, whose pattern is only revealed when multiple blocks are put together in a straight set. Then the the beauty of the allover pattern of interlaced friendship stars is revealed.

According to Barbara Brackman in the Encyclopedia of Pieced Blocks, the name for this block is credited to the Ladies Art Company, a publication that was active from 1895 to 1934.

This eight inch block (finished size), in the colors shown, in the October choice for the Block Lotto. More details for joining and playing along with us can be found on our group blog. Everyone is welcome.

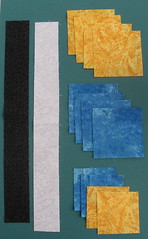
Cutting Fabrics for One Block

Cutting the fabric you'll need
Black & White Fabrics:

1 long rectangle each 1.5 inch x 12 inches–a little longer if you want to give yourself a little wiggle room.

Blue & Yellow Fabrics:

2 squares each 2-1/2 inches
4 squares each 2-7/8 inches–you may round these up to 3 inches and trim after sewing the half square triangle (HST) units.

Assembling the 4-Patch Units
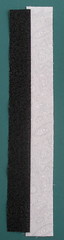
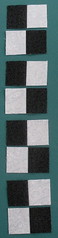
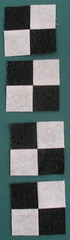
  1. Sew the black and white strips together along their long edges. Press toward the black fabric.
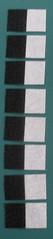
  2. Cut the strip into eight 1-1/2 inch units
  3. Take two of the 1-1/2 inch units, flip one around to form a checkboard and sew them together into 4-patches
  4. You will have four 4-patch units, each measuring 2-1/2 inches square.
Sewing Black and White Strips Together Subcut the Black and White Strip Prepare pairs to sew 4-patches Create four 4-patches

Assembling the Half Square Triangle (HST) Units

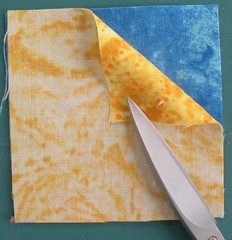
The four pairs of large squares are used to create HST units. There are many ways to construct these . . . here is one.
  1. Place one blue and one yellow square together, right sides together.
  2. Draw a line diagonally across the top square
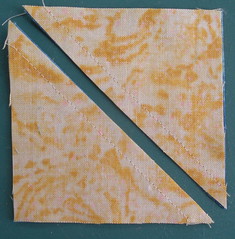
  3. Stitch 1/4 inch away from the line on each side. Cut apart on the line.

    Pair the large blue and yellow squares together Creating HST Units Cut apart after sewn

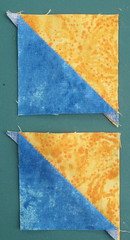
  4. Press the HST Units open, pressing the seam toward the blue side
  5. Square up the HST units to 2-1/2 inches square.
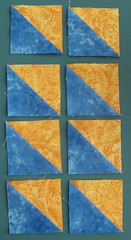
  6. Repeat with each blue-yellow pair of squares. You will create eight HST units.

    Press and Trim the HST Units Trimmed HST Units Completed HST Units

    Creating the Milky Way Block

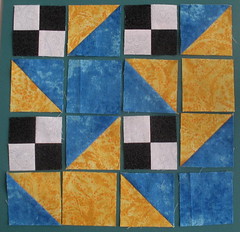
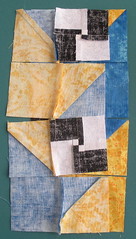
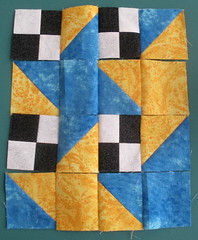
    Lay out your 4-path units, HST units and plain squares to form the Milky Way block.

    Laying out the Block
    And now the tricky part begins–at least for dyslexic quilters like me–keeping it all straight.
You may have your method to avoid inadvertently sewing the wrong side or accidentally getting things flipped around. Over on the Block Lotto blog, I shared the way I thought about the design of this block to keep it straight in my head–you can read about it here.

Another approach is to use chain piecing to attach things and keep them attached through the assembly process. Here's how I applied that technique to this block.

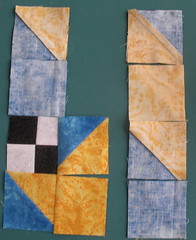
Working from top-to-bottom, I sewed the pairs in the left two columns together and the right two columns together, leaving each set of four pairs chained together. Then I carefully put the sewn pairs together and sewed each row together, leaving all the "chains" between all the pairs intact.

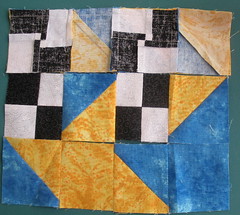
Sewing Chained pairs from top to bottom PUtting chained pairs together Assembled rows

Only at this point, with all the rows sewn together and attached to one another by the chains did I pick up the block and take it over to the ironing board to press seams. At this point, sewing the rows together–with confidence that I hadn't flipped anything around–was pretty easy . . . though I do admit I used pins to make sure my seams matched.

Sewing Rows together
I have seen this technique demonstrated, but have never used it before. I thought because this block had a lot of opportunity to go wrong, it was a good one to try it and I liked the result.

That said, it does make the pressing and sewing a little bit more fiddlely that usual. Still, it's a good one, I think, to add to a quilter's bag of tricks for the next time you run into a block that just keeps coming out wrong . . . we've all had one of those days occasionally, haven't we?

Oh yea, here's the finished Milky Way block.

Completed Block

And here's a nice example of how a few of these look when they're laid side by side. Lisa made these 11 blocks for the October Block lotto. I think these blocks will become a quick quilt to be made for the winner this month.


When you look at the field of stars, it's easy to see how this block came by it's name, isn't it?