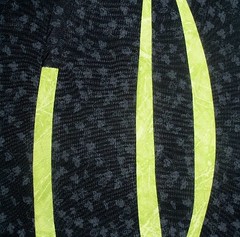
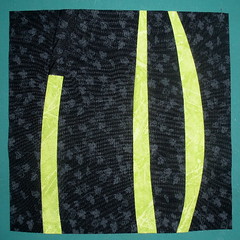
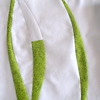
 The irregular, curved shapes in this block have an organic feeling and abstracted, natural look. I see reeds, but you might see green shoots or leaves of grass.
It's a pretty simple block that offers the opportunity to work with curves, make bias edges work for you and freely cutting and piecing it all together.
To make a 7-1/2 inches square (7 inch finished size) block:
- Cut:
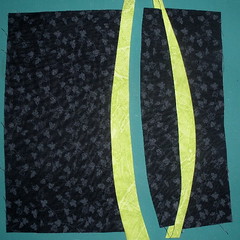
One rectangle cut from background fabric that is at least 8 inches high and 9 inches wide. (My example is a 9 inch square).
Three 1-1/2 inch wide strips cut on the bias of reed fabric. Two should be 9-10 inches long; the third 4-6 inches long.
One 1-1/5 inch wide strip cut on the bias of background fabric, 4-6 inches long.
 Sew the two short bias strips together end-to-end and press toward the darker fabric.This join can be made at an angle–just be sure that your resulting joined bias is straight.
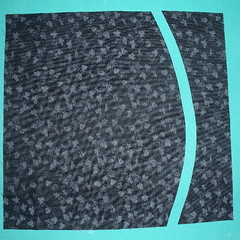
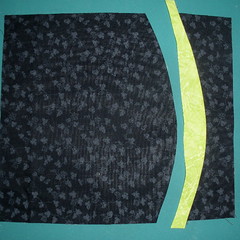
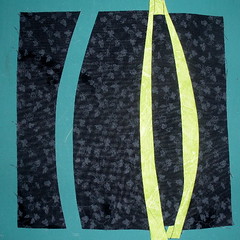
- Lay the background rectangle on your rotary mat, right side up. Using your rotary cutter to draw, cut a gentle curve that extends from the top to bottom.
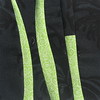
- Insert a bias strip. First sew it to the side of the background with the outside of the curve. Gently press the bias reed in place–steam may help if it doesn’t want to bend to your will and lay nice and flat.
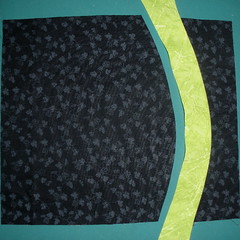
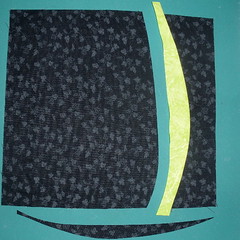
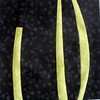
- Bring the sewn side back to the mat. Trim the un-sewn side of the reed to create an irregular, more natural shape.
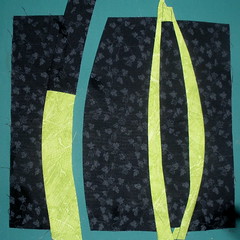
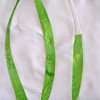
- Slightly overlap the side with the reed attached on the background and, following the edge of the reed you just cut, trim the background to match.
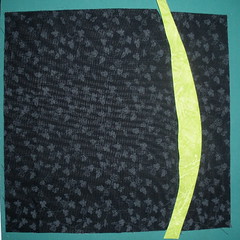
- Sew the matching curves you have just created together and press.
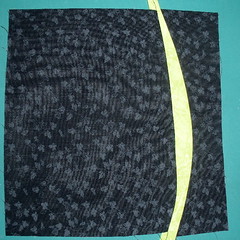
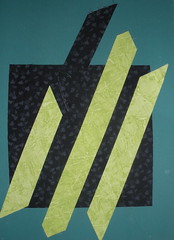
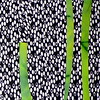
- Repeat steps 3 through 7 twice more, to add two more reeds to your composition. When adding the two-color reed, keep in mind that you will be trimming the block to 7-1/2 inches square. Be sure that the “end” of the reed is within the finished block.
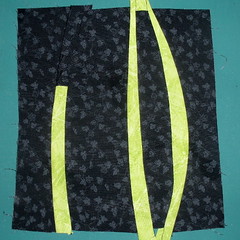
- Trim the completed block to 7-1/2 inches square and admire your composition.
Tips and Troubleshooting for the May Block
Here is a collection of some of the early lotto blocks, from Caroline, Kate, Kim and me.


You can see all of the blocks made for the block lotto in these blog posts.
No comments:
Post a Comment