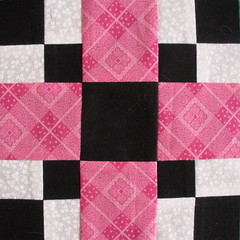
 The Thrifty block was first published in 1939 by the Kansas City Star, according to Barbara Brackman's Encyclopedia of Pieced Quilt Blocks.
It's a simple little block that has a lot of design possibilities. I'm thinking about putting some I-spy squares in place of the pink squares. It would make a great alternate block in a sampler quilt (or for a lot of the lotto blocks we make) or a border block. It could be a great swap block or scrap buster by keeping the 4-patch and center squares a consistent color and changing up the 4 squares (pink in my example).
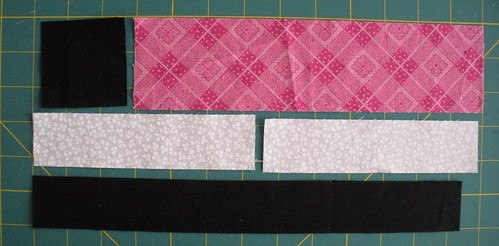
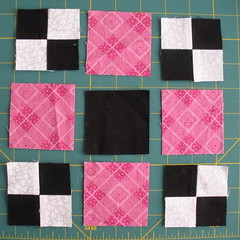
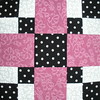
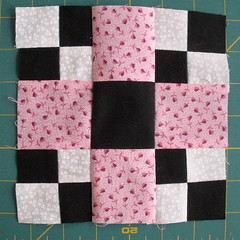
To make a single six inch (finished size) block, you'll need small amounts of fabrics in three colors, illustrated here in Pink, White and Black:
Pink: One 2.5 inch by 10 inch rectangle (or a 5 inch square)
White: One 1.5 inch by 12 inch rectangle (or a pair of 1.5 x 6 inch rectangles if you are working from scraps, as I did)
Black: One 2.5 inch square plus One 1.5 inch by 12 inch rectangle (or a pair of 1.5 x 6 inch rectangles)
Tip: add 1/4-1/2 inch in length to the measurements to the rectangles to give yourself a little wiggle room to square up edges if necessary
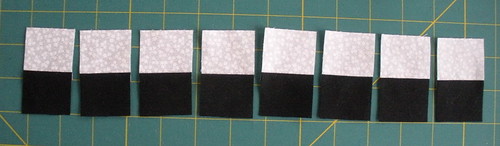
1. Sew the black and white long rectangles together along the long edges.
2. Press the seam allowance toward the black side. Slice into eight 1.5 inch sub-units.
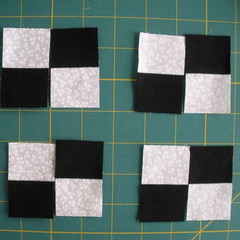
3. Use these to sew four 4-patches. After your 4-patch units are sewn and pressed, they should measure 2.5 inches square.
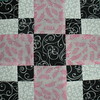
4. Cut your Pink rectangle (or 5 inch square) into four 2.5 inch squares and lay out the units of your block, 9 patch fashion.
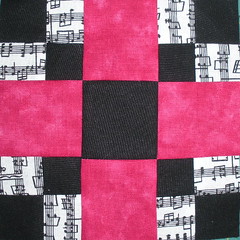
5. Assemble your block.
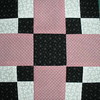
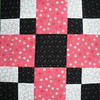
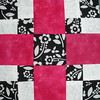
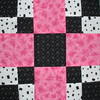
. . . And then, because that was so quick, make a couple more
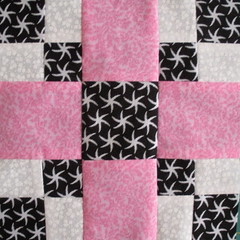
Then, you might be inspired to pull out some more black and white and pink scraps and think about making some more . . .
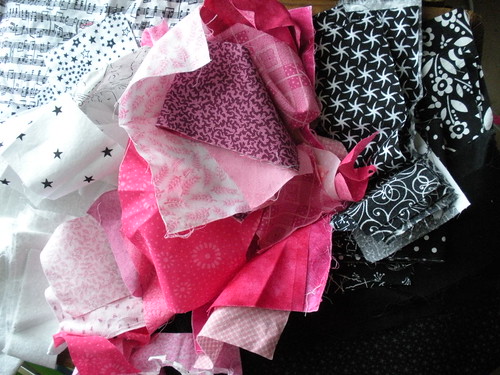
Like I did ;-)

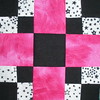


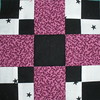

The thing to be careful of when you make this block is that you always end up with a nice "X" and that your blocks don't look like this when your done.
It's easier than you think to OOPS . . . and I offer this photo as proof positive of that fact ;-)
1 comment:
Many thanks for this!
I am new to patchwork and keen to use up big pile of fabric scraps. Going to try a block of this as my first ever project, and if it goes well make it up into a throw.
Post a Comment