Showing posts with label Appliqué. Show all posts

Saturday, June 05, 2010

Vines & Handles: A Closer Look at Bias Strip Appliqué

Did you follow the link from freepatterns.info here?  Please jump to the new blog at SophieJunction for this info and more free tutorials and quilt block patterns.

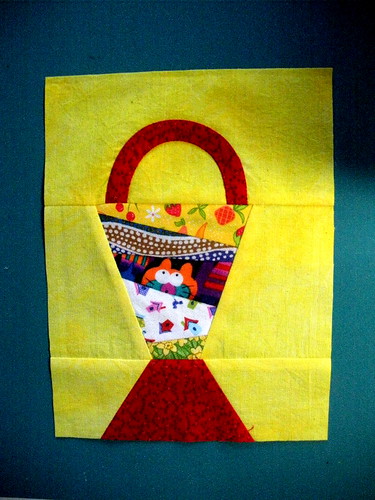
I put these tips together for the Block Lotto, to help everyone produce nice flat curved handles for their Liberated Basket blocks.  This technique works for any bias appliqué strips: stems, vines, branches etc.

When it comes to quilting, we are usually taught to avoid working with bias edges, using STEAM when pressing and pulling/contorting our fabrics.  But sometimes, all of these things can work for you to achieve the desired effect.

Here's a closer look at the steps for making the basket handle.  Click any of the photos for a larger image and add your own tips in the comments.

  1. Be sure to cut your strips ON THE TRUE BIAS.  Do NOT fudge on this step. Align the 45 degree line on your ruler with the selvedge or cut edge of your fabric to find the bias line across your fabric. 
  2. Sew the bias strip into a tube by sewing the two long edges together, WRONG SIDES together.   Don't even finger press the fold and you won't have to worry about getting rid the crease you create.  Thread color doesn't matter (notice my not so "neutral" light gray.) After you've sewn the seam, trim away the seam allowance as close as you can to the seam–after the bias is in place, there will be no stress on that seam.
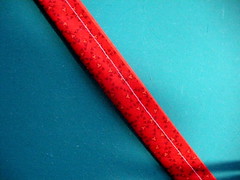
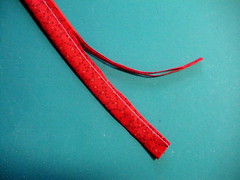
    Making 
the bias tube Trim 
the seam allowance

  3. Now, carefully prepare the sewn bias strip.  Roll the seam and it's tiny seam allowance between your fingers so that the seam is in the middle of the strip. Take the strip to the iron and press it firmly so that it is VERY flat.
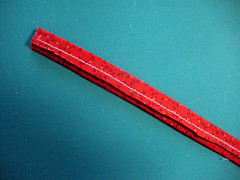
    Roll 
the tube and press 

  4. Next, using the STEAM in your iron, "swirl" the strip.  This technique I learned when making hats.  It's how you create the shape of the grosgrain ribbon that rests against the head inside the hat.  Since your head isn't a cylinder, the ribbon needs to wider at the bottom than the top, by swirling the ribbon into a slight curve, you create a ribbon that measures longer on one side than the other and fits beautifully inside a hat and against the head.

    It works like this: using a STEAM iron in one hand to anchor one end of the strip to the ironing board and holding the other end of the strip in your other hand to manipulate the strip.  As you press along the length of the bias strip, you'll be stretching one edge slightly to create a curved shape. 
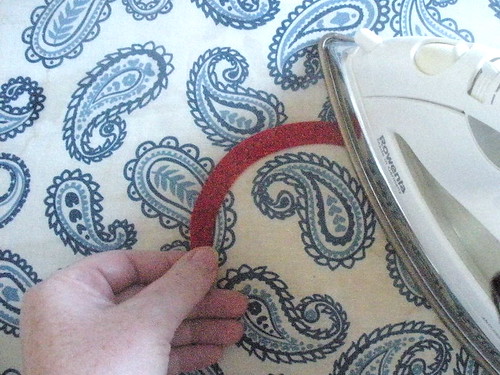
    Swirl 
the bias strip

    Depending on the angle at which you pull the strip around, you coulcome very close to creating the shape you want for your handle at the ironing board. I was able to completely form my handle at the ironing board.
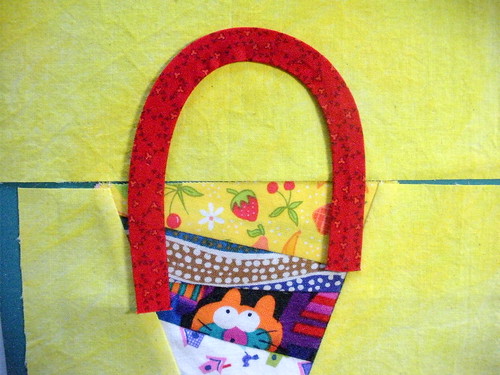
    Swirled 
bias strip

  5. Pin the handle in place, focusing on the OUTSIDE of the handle first.  Use as many or few pins as you need. If you are stitching your handle down on the machine, be sure to remove the pins as you come upon them. 
  6. When machine stitching the handle, be sure to use a thread color that matches or invisible thread. Use an open sewing machine foot that will allow an open view of the needle/seam and the edge of the handle.  If you can change the needle position on your machine, take advantage of that feature to sew as close to the edge of the handle as you can.  On my little Bernina (153 QE), I used a #10 appliqué foot and moved my need to the far right.

    If you are using a straight stitch, as I did here, you want to be close to the edge while staying on the bias strip  If you are using a blind stitch, blanket stitch or zigzag, you'll also want to be close to the edge, but stitching along the background (and zigging into the handle).
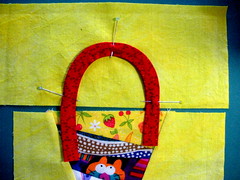
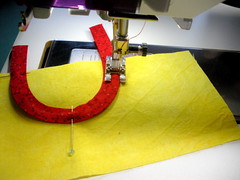
    Pinned in 
place.  Stitching the Handle

  7. After you have stitched down the outside, you may notice that the background has pulled in a little.   You also now have an opportunity to work on the inside curve with the STEAM iron.  so, press the strip again, with STEAM, starting with the curviest part of the handle works the excess fabric into the straighter/more gently curved areas so it doesn't get tucks in it. Pulling the edge down/pressing towards the bottom of the block rather than perpendicular to the stitching on the outer edge shortens the fabric in the inside curve to help it lay smoothly as well.
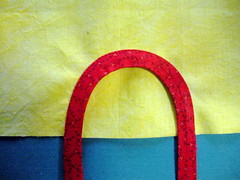
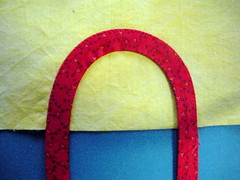
    Outside stitched down. Back to the 
Iron
  8. When you have pressed and manipulated the handle so that it lies flat, you're ready to stitch down the inside curve.  Once again, you want to sew as close to the edge as you can. Upon close examination, your stitching will highlight the beautiful, smooth curve (with all edges appearing to be turned under– something I learned to think about in a  Jane Sassaman workshop from some years ago.

    Once your handle is completed, attach it to the bottom of the basket block, trimming the excess length of handle even with the fabric edge. I generally sew first and trim later to ensure that the ends of the strips don't have any possibility of folding up and getting in the way in the seam and . . . not lying flat when I'm done.
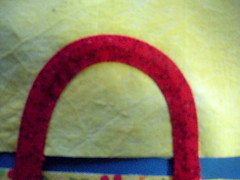
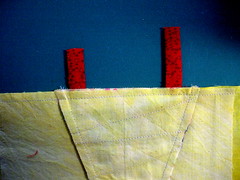
    Both
 sides stitched down Trim the 
handle
Here's the rest of the block that goes with my example handle, after it was pressed and trimmed to size.

Press & Trim the Block

Wednesday, January 30, 2008

Preparing Circular Elements for Appliqué

DSCN0670.JPG
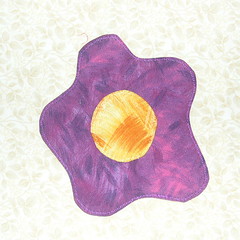
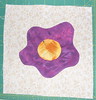
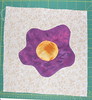
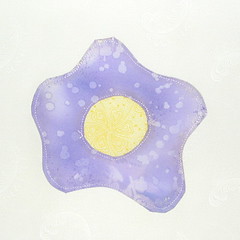
This Posy block was made using the faced appliqué technique, with a variation for preparing the Posy's center. This appliqué preparation works for circles, ovals and their wonky variations.

PREPARING CIRCLES FOR APPLIQUE
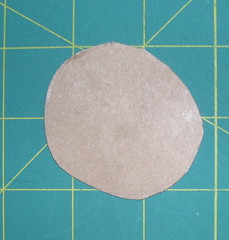
  1. Create a template from light-weight cardboard or heat-resistant template plastic. If you are making small circle appliqués, you may find a coin or washer that is exactly the size you need.

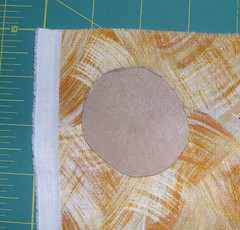
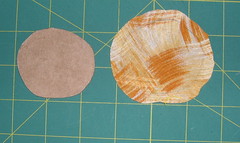
  2. Lightly trace the template on the back of your yellow/gold fabric

    For Circles (and Near Circles) Trace Template

  3. Cut out the center with a generous 1/4" seam allowance all the way around.

    Cut Center

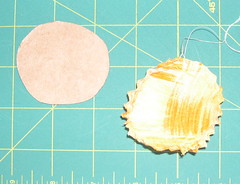
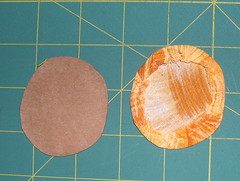
  4. Using needle and thread, make a running stitch in the seam allowance.

    Running Stitch

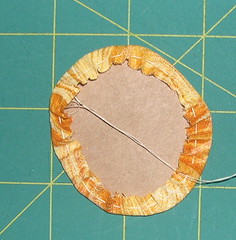
  5. Place your center fabric right side down, place the template on top, then pull the thread to pull the seam allowance to the back of the template. PRESS. Allow the fabric/template to cool, then gently loosen the stitches and remove the template.


    Center Template Press

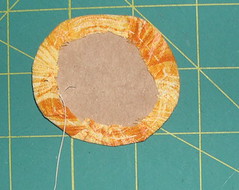
    You should have a nicely pressed center with all the edges turned under. I usually give it another press to make it nice and flat and ready to use.

    Remove template

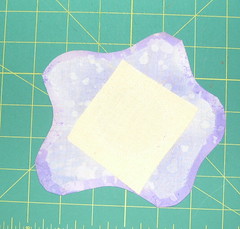
  6. The steps for assembling the Posy block are the same as for Faced Appliqué. Center the flower appliqué on the background. Fuse or pin in place.

  7. Sew the flower to the background - on this block, I used matching red-violet and yellow thread and a zig-zag stitch.

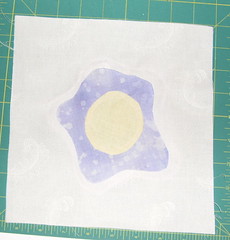
  8. Turn it over and cut away the background (and the interfacing fused to it) from behind the flower.

    Fuse Center in Place Stitch Flower Trim Back

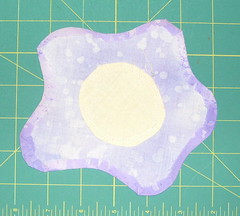
  9. Place the center on the flower and pin in place.

  10. Stitch center.

  11. Turn over the block and cut away the flower fabric from behind the center

    Pin in Place Stitch Center Trim back

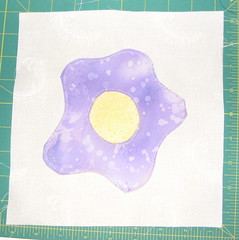
  12. Press the block. Square it up and trim to 8.5 inches. You're done ;-)

    DSCN0670.JPG

Using Templates for Machine Appliqué

There are a couple of beginner-friendly techniques for machine appliqué which use templates.

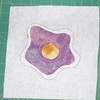
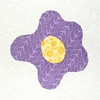
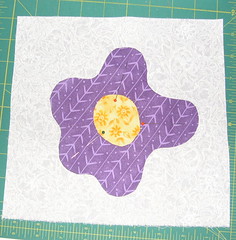
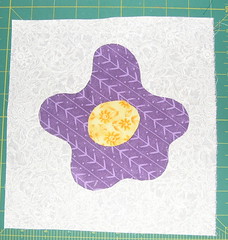
Posy Posy Posy

One approach uses freezer paper and a glue stick; for the other, you'll need some sort of heat-resistance template material (I used lightweight cardboard) and starch. The two blocks on the left were created using the freezer paper-glue stick approach; the one on the right was made using a heat-resistant template and starch.

FREEZER PAPER TEMPLATES

For this method, you'll need freezer paper, a water soluble glue stick, a towel and some water.
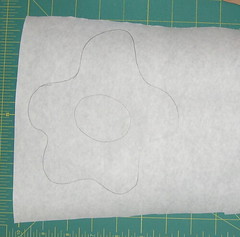
  1. Trace the design onto the non-shiny side of a piece of freezer paper.

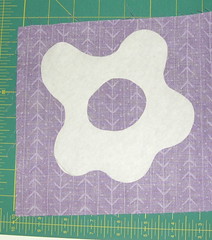
  2. Cut out the template (on the line) and iron it to the wrong side of the flower fabric.

    Create Freezer Paper Template Iron Freezer Paper to Fabric

  3. Cut out the fabric, leaving approximately 1/4 inch seam allowance.

    Trim the fabric

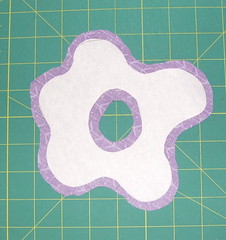
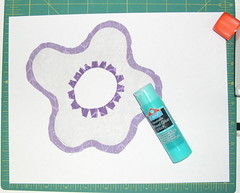
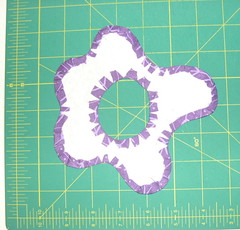
  4. Using a piece of scrap paper to work on, apply glue stick to the seam allowances. Fold them back and stick them to the freezer paper. You will need to clip the fabric wherever there are inside curves.

    Glue Seam Allowances Flower Applique

    Your appliqué is now ready to use.

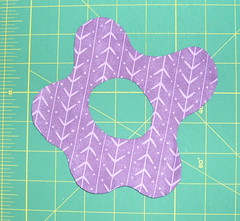
    Flower Appliqué Ready to Use

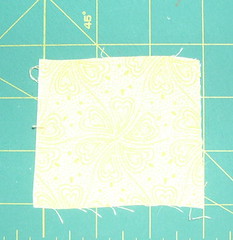
  5. Using this technique, you do not need to make a template for the center of the Posy. The center fabric can be rough cut - it should be large enough to fit behind the flower element, extending beyond the edge at least 1/4 inch, but make your life easier and be generous. The center fabric should be prepared like the background, starched and pressed.

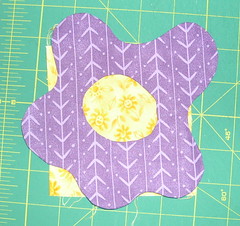
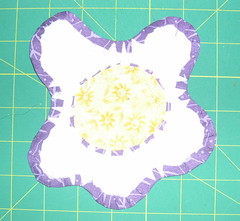
  6. Begin assembling the block by sewing the flower to the center fabric. You can hold it in place with pins or a little glue stick. After it's sewn, turn the appliqué piece over and trim the excess center fabric, leaving a 1/4 inch seam allowance.

    Flower with Center Fabric Trim Center

  7. Place the Posy appliqué on the center of your background square. Pin or glue-stick in place.

    Place and PIn on Background

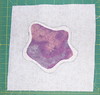
  8. Stitch the Posy in place, then turn over the block and cut away the background fabric behind the flower.

    Stitched Posy Block Trim Back

  9. To remove the freezer paper, you must first loosen the glue. place the block on a towel and spray with water. (Again, my advice is to be generous and make your life easy - it's only water.) Use a q-tip, orange stick or similar tool to lift the seam allowances from the freezer paper, so you can remove it. Let the block dry and press or press it dry.

  10. Square up the block and trim to 8.5 inches. You're done.
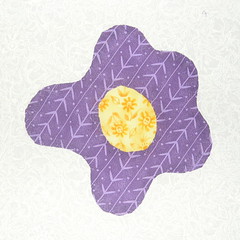
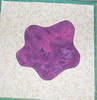
    Posy

    This block was sewn using clear mono-filament with a blind hem stitch.
HEAT RESISTANT TEMPLATES

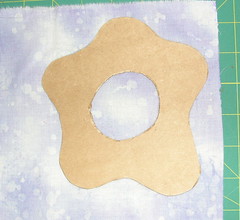
For this method, you'll need liquid or spray starch and some sort of heat-resistant template material. It could be heat-resistant template plastic (made especially for this technique) or some lightweight cardboard, like I used in my sample block. You'll also need q-tips or a small brush.
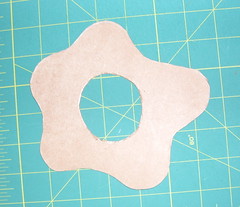
  1. Create a template from your pattern.

  2. Trace the template on the BACK of your flower fabric

    Make Template
    Trace Template

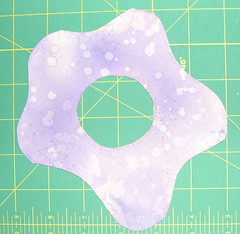
  3. Cut out the flower fabric, leaving approximately 1/4 inch seam allowance. Clip any inside curves, up to, but not into the drawn line.
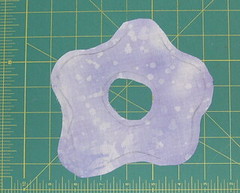
  4. Take template and fabric to the ironing board. Put the fabric right side down and place the template over it, lining it up on your drawn lines. Using a small brush or q-tip paint the starch on the seam allowance. If you are using spray atarch, you can spray some inside th lid then use the liquid with your brush. Fold the painted seam allowances up over the template and press in place.
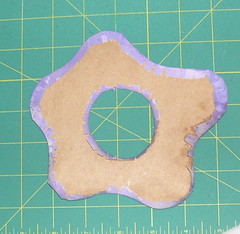
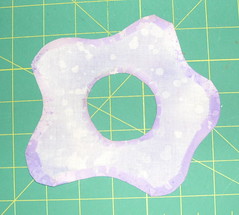
    Trim Starch and Press Seam Allowances

  5. Allow the fabric and template to cool, then gently remove the template. I press the fabric (and it's nicely turned under edge) one more time to make it nice and flat.

    Remove template Flower Applique is Ready

  6. The assembly of the block is similar to that with freezer paper templates. The center fabric should be starched and pressed then pinned in place.

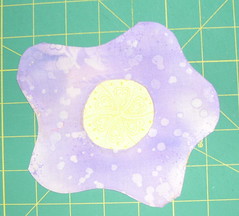
  7. Stitch the flower to the center

    Posy Center Center Placed Behind Flower

  8. Turn the Posy over and trim the center fabric, leaving a 1/4 inch seam allowance.

    Back of Flower with Center Fabric Center Trimmed

  9. Center the Posy on the background square and pin in place. Stitch.
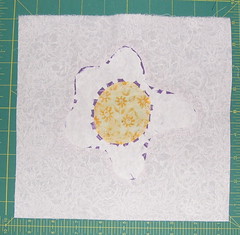
  10. Turn the block over and cut away the background fabric from behind the flower.

    Place Appliqué on Background Trim Back of Block

  11. Press the block, square up the block and trim to 8.5 inches and you're done .

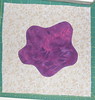
    Posy


    This block was sewn with purple matching thread using straight stitch.