Flying Geese units are typically twice as wide as they are tall. The finished size of my examples is 2 by 4 inches. They were used as the star points in the 8 inch Sawtooth Star blocks we made for the lotto in October, 2007.
Cutting Fabrics
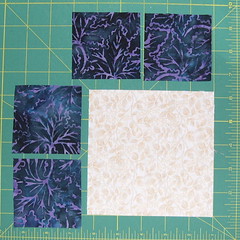
For each set of four geese, you'll need:
- one square of the geese fabric which is 1-1/4 inches larger than the finished width of the geese unit (i.e., 5-1/4 for 2 x 4 inch geese)
- four squares of sky fabric which are 7/8 inch larger than the finished height of the geese unit (2-7/8 inches for 2 x 4 geese).
Sewing the Units
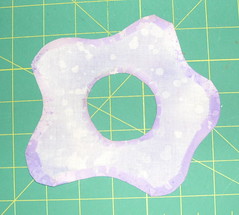
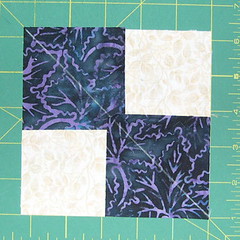
Putting right sides together, line up the edges of two of the small squares with the edges of two diagonal corners of the large square. Draw a line, across both small squares from corner to corner.
Stitch 1/4 inch on each side of the drawn line. Then cut along the line.
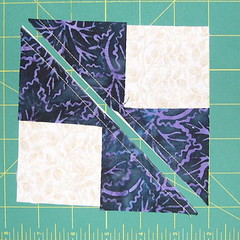
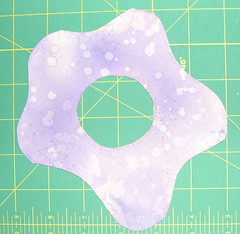
Press the seams toward the dark fabric.
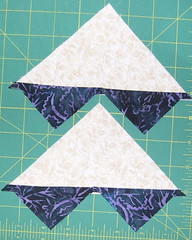
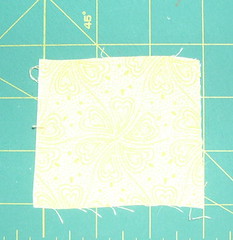
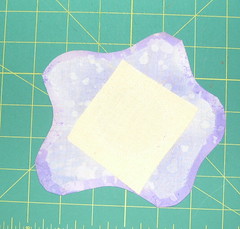
For each half, align a small square in the corner.right sides together. Draw a diagonal line.
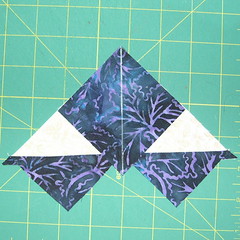
Stitch 1/4 inch on each side of the drawn line. Then cut along the line.
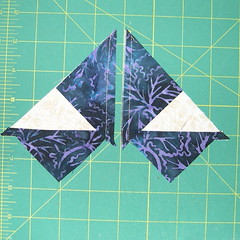
Press the seams toward the dark fabric. You're done.