 The Cactus Pot quilt block was first published in the Oklahoma Farmer Stockman, on January 1, 1930 in a monthly column that was included in the journal in the 20's and 30's called Good Cheer Quilt Patterns.
FABRICS
You'll need three fabrics for this block, which I will refer to as CACTUS, POT and BACKGROUND .
Note : if you are making this block for the May 2009 Block Lotto, at least one of your fabrics–it can be any of the three–must be be a flower print.
CUTTING
 From your CACTUS fabric:
One large triangle*, cut from a 3-7/8 inch square cut diagonally
Two 2-3/8 inch squares*
 From your POT fabric:
One large triangle*, cut from a 3-7/8 inch square cut diagonally
Two small triangles, cut from a 2-3/8 inch square, cut diagonally
 From your BACKGROUND fabric:
One large triangle*, cut from a 3-7/8 inch square cut diagonally
Two 2-3/8 inch squares*
One 2 inch square
Two 2 inch by 3-1/2 inch rectangles
Note: The squares and triangles marked with asterisks* will be used to make half square triangle units. If you like to round up and trim afterward, these pieces can be cut larger.
SEWING THE BLOCK
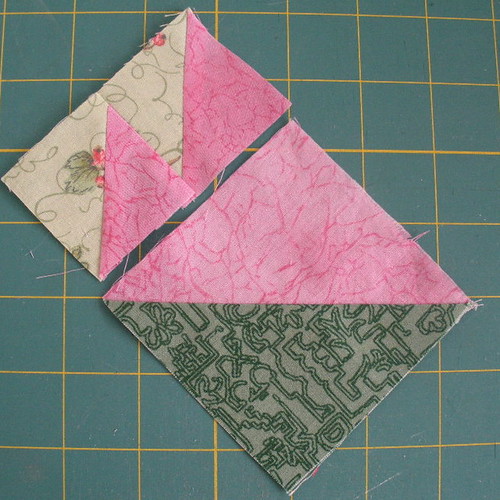
 1. Sew the Large triangles of Cactus and Pot to form a square. It should measure 3.5 inches.
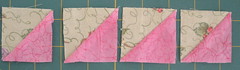
2. Use the 2-3/8 squares of Cactus and Background fabrics to make 4 half square triangle units. They should each measure 2 inches.
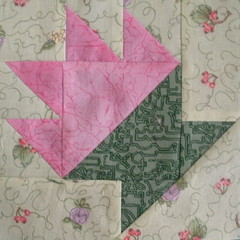
3. I find it helpful to lay out these units plus the square of background fabric, to make sure I have the cactus points going in the right direction before sewing them together . . . at least on the first block or two.
Sew two strips, one with two triangle units and the other with two triangle units and the background square.

4. First attach the strip with the 2 HST units.
5. Then add the longer strip to the other side.
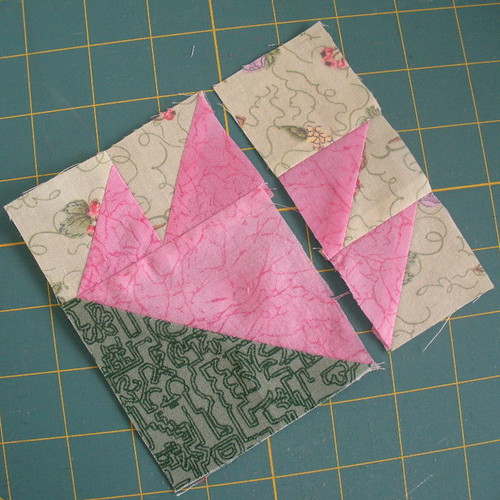
6. Next sew the two small Cactus triangles to the end of the Background rectangles.
You need to be very gentle when sewing and especially pressing these because of the bias edges at the “bottom” of this step.
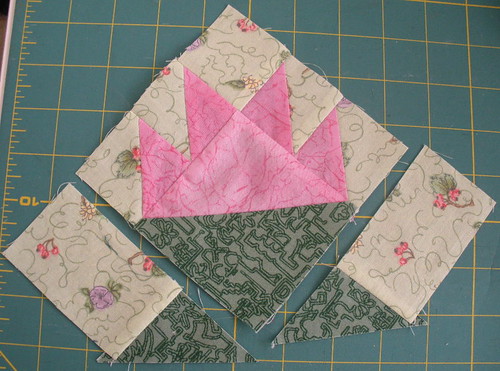
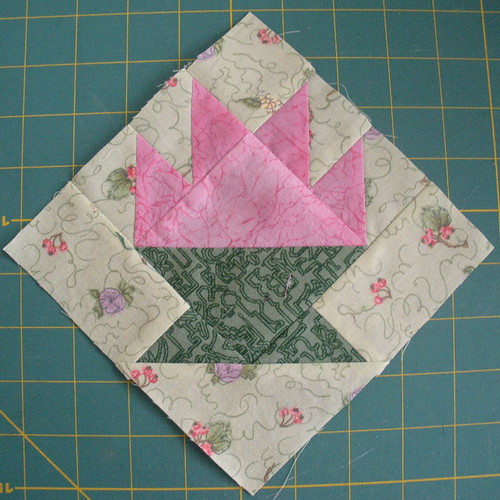
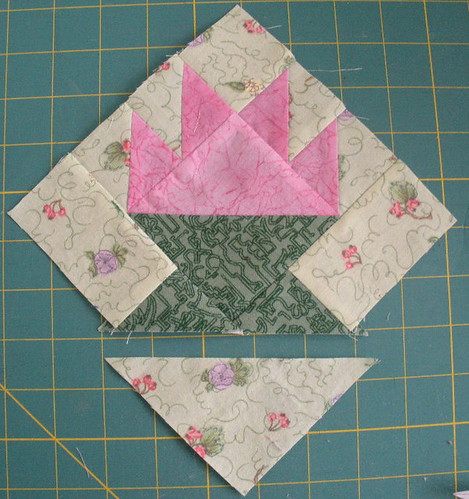
7. After these are sewn to the sides and, again, gently pressed to avoid stretching, the remaining, large background triangle (which should not be cut larger, will fit EXACTLY, to complete the block.
I left the “bunny ears” on the sides to make it a little easier to align the triangle at the bottom. If you trim first, the points will overhang a little so that after the seam is sewn, you have a straight edge.
You’re done!