I couldn't find a documented name for this block–a variation made of flying geese units. Since we are making it from jewel toned fabrics for the March 09
Block Lotto,
Michelle dubbed it Jeweled Geese and it stuck.
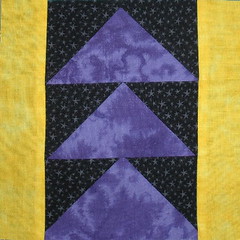
It is basically constructed from three 2 x 4 inch geese units with 1 x 6 inch strips added at the sides to create a square 6 inch (finished size) block. There are three easy ways to make the block . . . starting with the one that uses my favorite method for making flying geese units, no-waste geese ;-)
Method 1 - one geese wasted (maybe)You'll need:
One 5-1/4 inch square of jewel tone #1 (for the geese)
Four 2-7/8 inch squares of black (for the sky)
Two 1-1/2 inch by 6-1/2 inch rectangles of jewel tone #2 (for the side strips)
Take the five squares and follow the directions on this site for
no-waste geese. You'll have four geese units.
Be sure to measure and square up your geese beofre continuing–you can thank me later ;-)
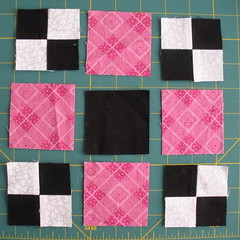
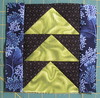
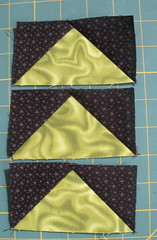
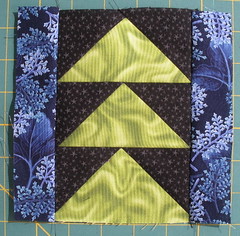
They should measure 2-1/2 by 4-1/2 inches. Choose the nicest three and assemble them like this.

NOTE: When you are putting together the geese units, be sure to sew them with the pointy side on top so you can see that you are sewing through the intersection at the top of the triangle (goose) so you will have a nice point and won't be hiding the "beak." Your seams will look something like this.

(Click any image for a closer look)
Sew the side strips to your three geese units and your block is completed.
IF the one wasted goose unit bothers you . . . you can repeat the process two times more and make a forth block from the leftover geese. For the March block lotto, be sure to add different fabrics to the sides so that each block is a unique fabric combination.
 Method 2 - making flying geese from strips (noodles or jelly rolls)
If you haven't wrapped your head around the no-waste method or are working with 2-1/2 inch noodles from a swap, a pretty jelly roll or other narrow pieces of fabric, this method may be the one for you.
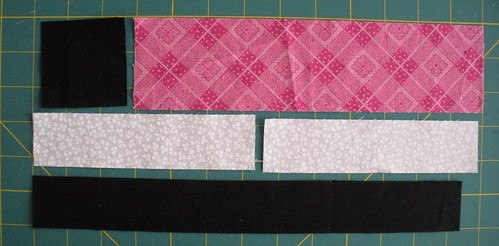
For each block, you'll need
one strip 2-1/2 by 13-1/2 inches of jewel tone fabric #1 for the geese
one strip 2-1/2 by 15 inches of black fabric for the sky
one strip 1-12 by 13 inches of jewel tone fabric #1 for the side strips
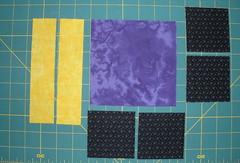
Cut the geese fabric into three 2-1/2 by 4-1/2 rectangles. Cut the black sky fabric into six 2-1/2 squares. Cut two 1-1/2 by 6-1/2 side strips.
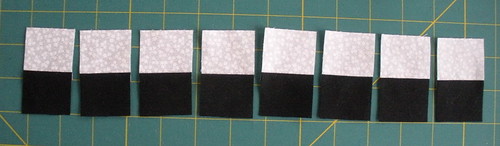
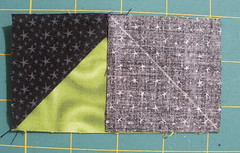
Make the geese units by laying one black square on top of a rectangle, right sides together, aligning the top, bottom and one side. Draw a diagonal line across the square, as shown, from the outside bottom corner, and sew along the line.
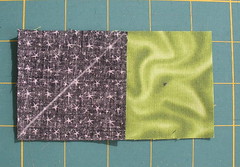

Cut away the outside triangle, a quarter inch from your seam. Toss the excess fabric or sew it together for a bonus triangle square for a future scrap project . . . or you can send it to me ;-)
Press open.
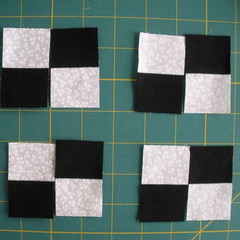
Add a second square, right sides together on the other side and repeat the process. Draw the line, sew on it, cut away the excess fabric, a quarter inch away, sew the bonus triangle square (or toss it). Press open.
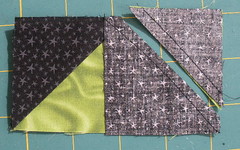
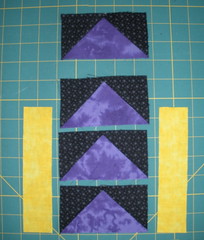
Rinse and repeat until you have made three geese units. Each unit should measure 2-1/2 by 4-1/2 inches. Take a moment and measure them and square up if necessary. Then sew the three together.
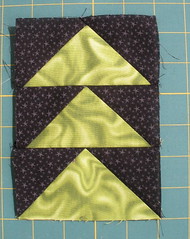
Add the strips to the sides to form a 6-1/2 inch block with seam allowances–6 inch finished size.
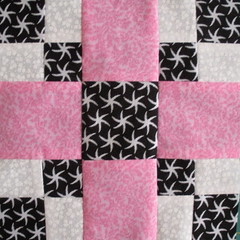
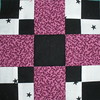
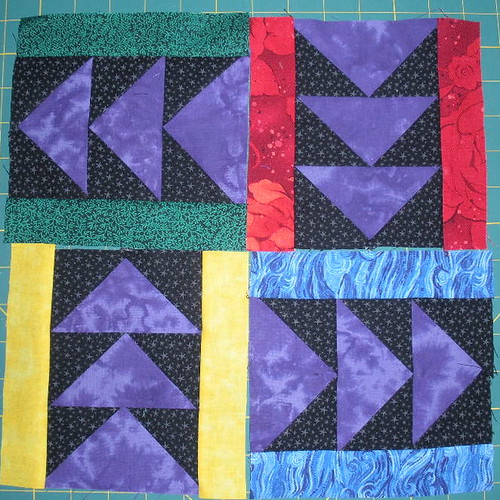
I made these two blocks using this method . . .
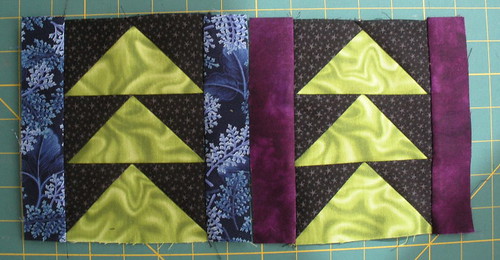
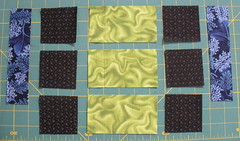
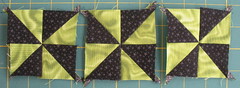
. . . which gave me 12 bonus triangle squares (AKA half square triangles or HSTs) that became these pinwheel blocks. They'll measure 2-1/2 inchs (finished size) after they've been squared up.
 Method 3 - paper foundation piecing
Flying Geese can always be paper pieced and this technique is especially attractive if you are designing geese that don't have the traditional proportions of half as tall as they are wide which makes piecing more challenging, or if you want your geese to fly along a curved path.
For our 6 inch block, you can download a paper piecing foundation pattern
here.
Same block in a different colorwayHere's an example of other these geese blocks could look using different different color rules. I made these 9 inch blocks from 3 inch by 6 inch geese units from an anything goes swap and added 2 inch strips of the same tan fabric to all the blocks.

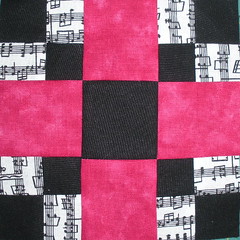
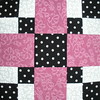
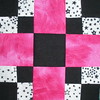
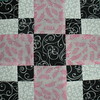
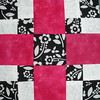
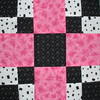
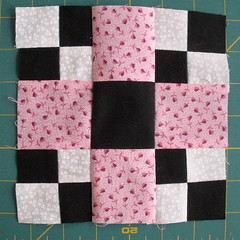
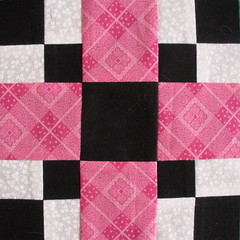 The Thrifty block was first published in 1939 by the Kansas City Star, according to Barbara Brackman's Encyclopedia of Pieced Quilt Blocks.