 When Kate sent a drawing of this block to me, I didn't realize it was a Kate original and went looking for the name of the block. The closest block pattern I found (in Brackman's Encyclopedia of Pieced Quilt Patterns was The Clover Blossom . . . and so I dubbed Kate's simplified version the Modern Clover. Because of my research, I immediately recognized The Clover Blossom quilt at the Infinite Variety exhibition.
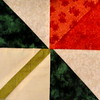
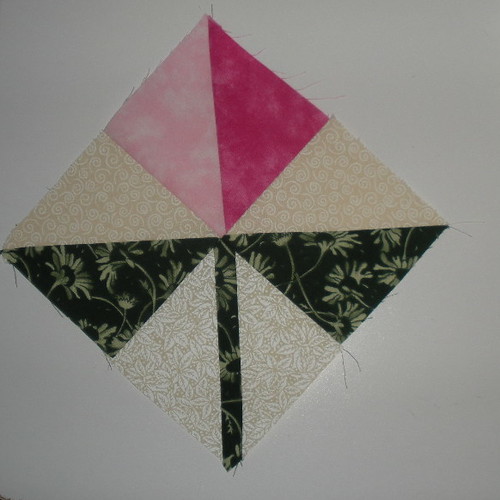
 Kate's block is easily assembled from 4 units--three Half-Square Triangles and a Stem.
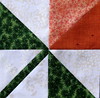
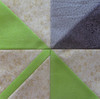
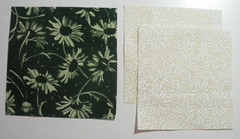
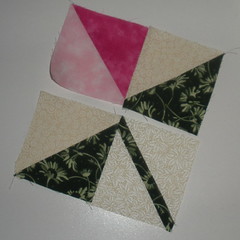
- The leaf units are made from green and cream fabrics. You'll need two leaf units.
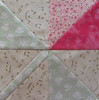
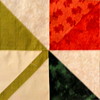
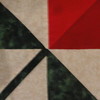
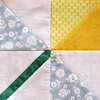
- The bloom unit is made from two shades of the same (non-green) color. You'll need only one of these.
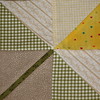
For the April 2011 Block Lotto, we will be making a 6 inch Modern Clover block from 3 inch units, using green for the leaves and stem, cream background and two shades of any non-green color for the blossom.These are finished sizes, the units, before they are sewn together should measure 3 1/2 inches and the block will be 6 1/2 inches before it is sewn into a quilt top.
HALF SQUARE TRIANGLE UNITS
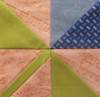
Known as half-square-triangles (HST, for short) or triangle squares, there are a lot of ways to make this useful building block unit. Once you find the method that works best for you and become confident making them, you'll be amazed at the quilt block patterns that you can (easily!) make.
The method you use may be influence by the number of HST units you need to make from the same pair of fabrics. If you decide to make a bunch of clover blocks with the same background and leaf fabrics, you might want to make all those units in one fell swoop using Thangles or Triangle Paper or a similar commerical product.
Making many HSTs
Using Thangles, you begin with strips of fabric that are 1/2 inch wider than the finished size of your HST unit. For example, for our 3 inch units, you would begin with 3 1/2 inch strips of your two fabrics. Read about How Thangles Work on their web site. Triangles on a Roll is a similar product.
With other sew-on-the-line products, you begin with two rectangles, place the printed paper (or lightweight non-woven interfacing-like product) on top, pin in place and sew on the dotted or dashed lines and, after all the seams are sewn, cut on the solid lines to create a bunch of HST units. You can download and print free gridded paper from Block Central. Using their 3-inch HST paper (finished size), you would begin with two 8-1/2 inch squares of fabric to make 8 HST units--enough leaf units for four blocks. As with anything you download, always be sure to measure the 1" arrow to make sure your computer did not "scale to fit" or otherwise chances the dimensions. Commercial products are printed on larger than printer-paper sized sheets--you use larger rectangles of fabric and produce more HSTs at a time.
Making 1 or 2 HSTs
 For the most common method for making a pair of HST units, you begin with two fabric squares that are 7/8" larger than the desired finished size. Many quilters will cut the squares 1" larger because it's easier to measure and you can trim afterward. This method is described nicely on the About Quilting site here:
Quick and Easy Half-Square Triangle Units
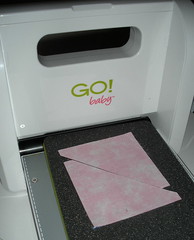
If you have a fabric cutter, you can easily cut one or two triangles from some smallish scraps to make HST units. (FYI, this is not a product placement, I actually bought and use that Go! baby, but can't compare it to anything else ... )
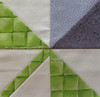
STEM UNIT
For a 3 inch (finished size) stem unit,
Cut:
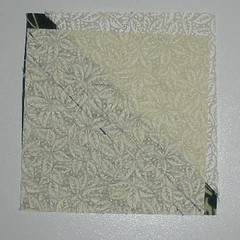
One 3 1/2 inch square of stem fabric (green)
Two 3 1/8 inch squares of background fabric (cream)
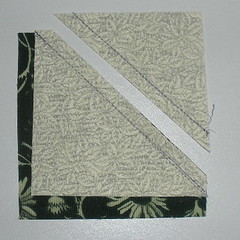
 Assemble the stem
- Place a smaller background of background fabric on top of the larger square of stem fabric, right sides together, with one corner and adjoining edges perfectly aligned.
- Draw a stitching line from corner to corner on the smaller square. For a bonus triangle, draw a second line, parallel to the first, 1/2 inch away (toward the aligned corner).
- Stitch on the drawn line(s).
- Cut between the stitch lines . . . or 1/4 inch away from the single stitch line if you don't opt for the bonus triangle square.
- Press.
- Repeat steps 1-5 with the second smaller background square, placing it so that it is aligned with the opposite corner and other two sides of the background square.

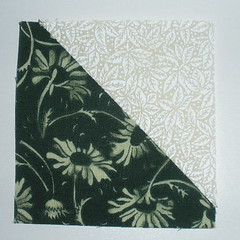
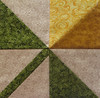
PUTTING THE CLOVER BLOCK TOGETHER
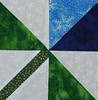
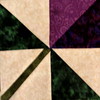
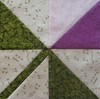
Lay out the four units for your Clover block. Looking at it in an on-point fashion, keep the LIGHT fabric (in the blossom HST) on the LEFT. If you used different leaf fabrics, then place the LIGHTER leaf on the LEFT. If the leaf fabrics are the same, but the backgrounds are different, place the one with the LIGHTER background on the LEFT.
Sew the units together like a four patch, first in pairs and then press.
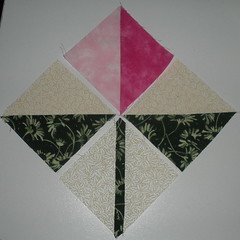
Sew two pairs together and you are done.
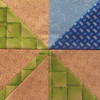
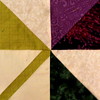
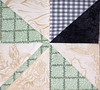
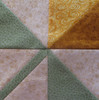
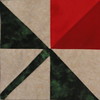
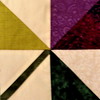
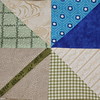
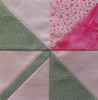
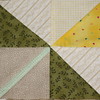
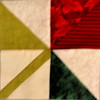
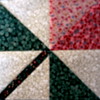
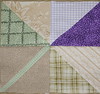
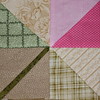
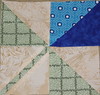
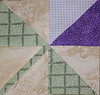
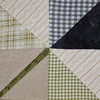
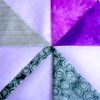
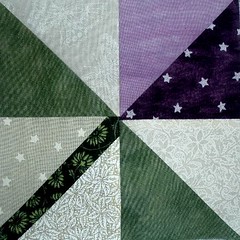
SOME INSPIRATION FROM THE BLOCK LOTTO COMMUNITY
These blocks were made by Karen, Liz, Maree, MB, Pat, Susan and Wendy.