Tuesday, September 01, 2009

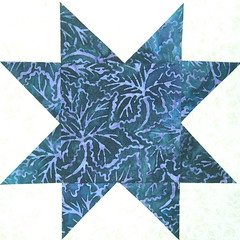
Square & Points Quilt Block

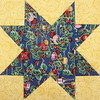
Sophie Whether you know this block as Square & Points–it's earliest published name–Sawtooth Star or one of its many other names, this is great block to learn and easy to transpose into different size. Use it as the main block, an alternate block, a border block . . .

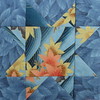
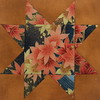
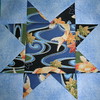
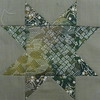
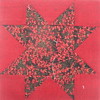
We made this 8 inch batik star block for the Block Lotto last year; this month, we are making them in Asian prints with coordinating tone-on-tones at 6 inches - here are some beautiful examples made by Kate and Linnea:
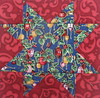
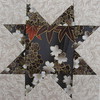
But since I already had step-by-step photos from last year, I'll be using those with revised measurements for making a SIX INCH block and counting on the imaginations of the Lotto Block players to see them in Asian fabrics for the star with coordinating tone-on-tones for the background.
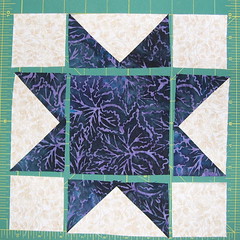
Sawtooth Star componentsThe basic components of the block are 5 squares and 4 flying geese (FG) units. For a 6 inch (finished size) block, the measurements are:

Corner Squares (Background): 2 inch
Center Squares (Star): 3.5 inch
FG Unit: 2 x 3. 5 inch

In the FG units, the Background fabric is the "goose" and the Star fabric is the "sky." The finished size of the geese will be 1.5 x 3 inches. You can use any method to make the geese, but my preferred technique is "no waste geese." For this method, you'll start with:
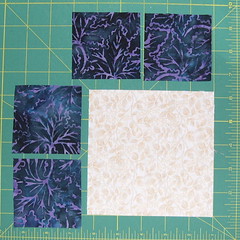
Cutting for Flying GeeseOne 4-1/4 inch square Background fabric
Four 2-3/8 inch squares Star fabric

Click over to follow the steps for making No Waste Flying Geese.
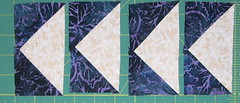
Flying Geese units

Lay out the components of the block and sew the block together as a nine-patch.
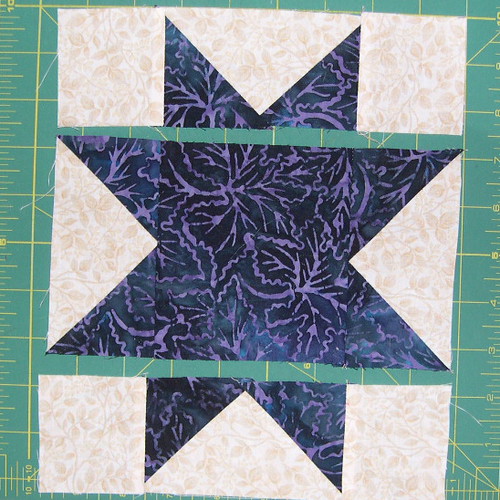
Sawtooth Star Assembly

Pay special attention when you attach the flying geese unit to the center square, sew these seams with the "goose" on top so you can notice where your seam passes the point at the top at the top of the triangle and sew through the crossed seams on the FG unit.
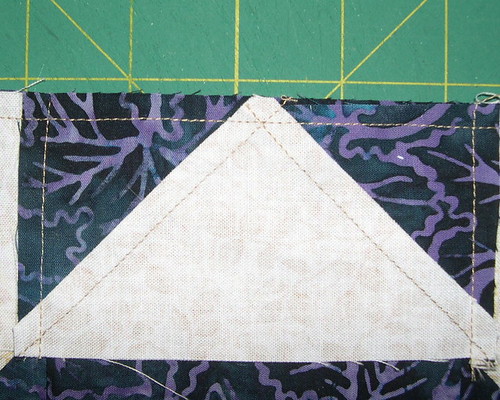
Sewing Tip

The large center square of this block makes it easy to showcase beautiful fabrics, whether they are favorite batiks, a collection or repros from the 30s or Civil War era or some Asian inspired prints.
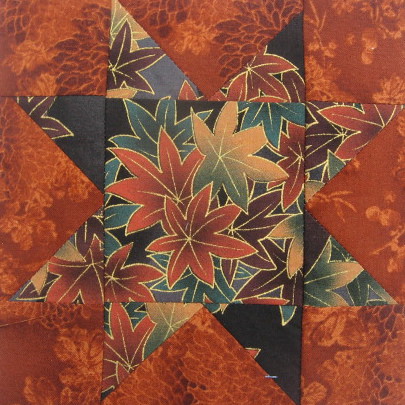
Kate's Asian Star #5

Wednesday, July 01, 2009

Oklahoma Boomer Quilt Block Pattern

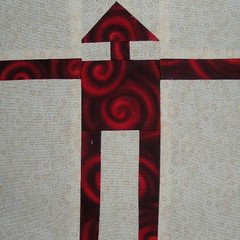
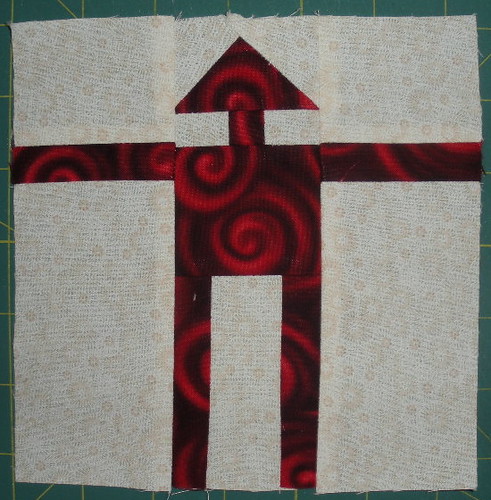
Sophie's Oklahoma Boomer Block
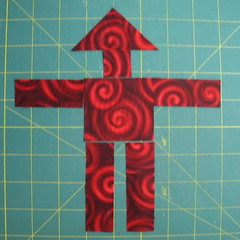
The Ladies Art Company first published the Oklahoma Boomer block in 1898. I have always loved this block and couldn't resist including it for the block lotto in our year of traditional blocks . . . it's just a happy coincidence that I saw a production of The Wizard of Oz a couple weekends ago and keep seeing the Tin Man, an alternate name you might see used, as in Judy Hopkins & Nancy Martin’s 101 Fabulous Rotary-Cut Quilts.
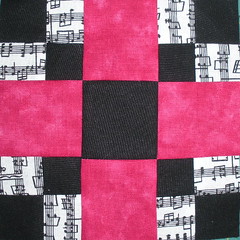
For those who happen to have a copy of Judy Hopkins & Nancy Martin’s 101 Fabulous Rotary-Cut Quilts, I will reference the same Alpha characters for each piece, so you can reference your book, it is helpful to you. Their version of the block is the same size (6 inches, finished size) but is made from three fabrics, instead of our two color blocks.
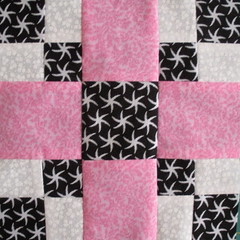
The main challenge in making this block is careful measuring and cutting and sewing that 1/4-inch seam. You also have an opportunity to make and work with a template.
Fabrics

For the July Block Lotto, we'll be making this block in two colors, a cream tone-on-tone (TOT) print BACKGROUND fabric and your choice of RED or BLUE TOT main (BOOMER) fabric.

Make a template

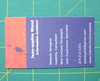
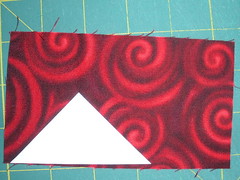
If you were making multiple blocks from the same fabric (or don’t mind wasting some fabric), you would cut the large triangle head (A) by cutting a 3 1/4 inch square and cutting it twice diagonally. But since I’m going to tell you that you cannot repeat your BOOMER fabric in more than one block . . . the easiest thing to do is to make a template for that triangle. If you have card stock or template plastic, you can make a template by cutting a 3 1/4 inch square and cutting it twice diagonally and using one of the triangles for your template for the head (A). If you don’t, grab a standard size business card.


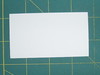
Make a Template from a Business CardMost standard sized business cards are 2” x 3.5”


Flip it over
It will probably be easier to work with from the back, so flip it over.


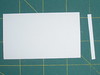
Trim to 3 -1/4 inches
Trim it so that it’s 3 1/4 inches wide.


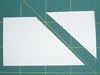
Cut 45 degree angle from cornerAlign the 45-degree line on your ruler along the bottom edge and cut an angle from the bottom right corner.


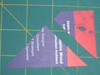
Cutting second 45 degree angle
Flip over your card and repeat. Your template is ready to use.


Cutting


Using Your Template to Cut Head TriangleUse the template to cut the Head (A) piece from your BOOMER fabric by aligning the longest edge on grain on your fabric.

Again, if you don't mind wasted fabric, you can also cut a 3-1/4 inch square and cut it diagonally twice and use ONLY one of the resulting triangles.

Cutting Main fabric
For the rest of the BOOMER pieces, you'll need:
One 1” square for neck (B)
Two rectangles, 1” x 2-1/2” for arms (C)
One rectangle, 2-1/4”x 2-1/2” for body (D)
Two rectangles 1” x 3-1/4” for legs (E)

Cutting Diagram
From the BACKGROUND fabric, cut:
Two rectangles, 2” x 2-1/2” for above arms (F)
Two rectangles 2-1/2” x 4-1/2” for below arms (G)
One 1-7/8” square cut once diagonally into two triangles, for sides of head (H)
Two 1” x 1-1/4” rectangles for sides of neck (I)
One 1-1/2 x 3-1/4” rectangle for between legs (J)


Sewing the Block

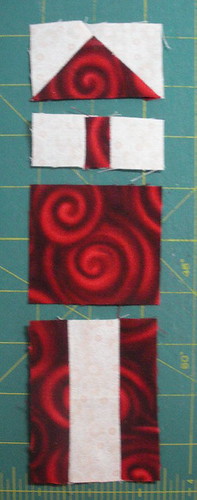
Assemble center units first1. Sew the center sections together first. If your block is going to come up short . . . best to find out right away, right?

As you are sewing the background to the head, the neck and the legs, press toward the dark. You don’t have to worry about any matching seams in any of this part of the block, so you can focus ENTIRELY on those 1/4 inch seams.

After all the backgrounds are attached, sew the sections together and . . . moment of truth time, measure the center section. From top to bottom, it should measure 6-1/2 inches.

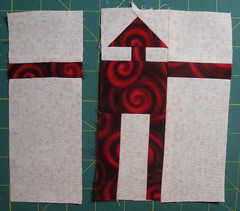
Then sew the background pieces to the arms. I pressed the seams on those UP, which means the top seam is pressed toward the BACKGROUND, so I would have opposing seams at the shoulders–the ONLY matching seams you have in this block.


Assemble sides and attach them to center
2. After putting the center together, adding the arms is easily done . . . and so are you ;-)
Oklahoma Boomer Block

Thursday, April 30, 2009

Cactus Pot Quilt Block

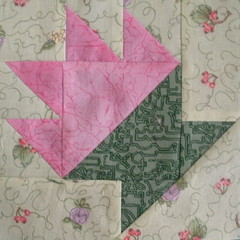
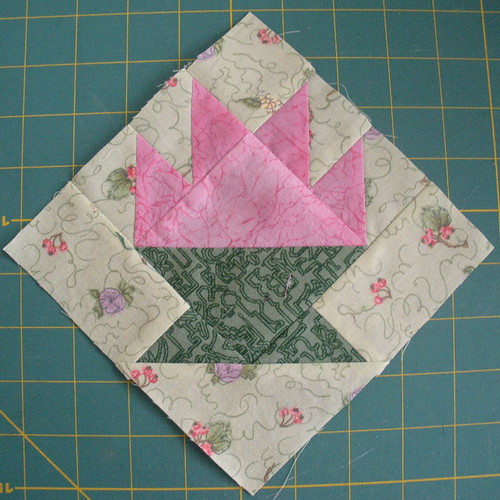
Cactus Pot Quilt BlockThe Cactus Pot quilt block was first published in the Oklahoma Farmer Stockman, on January 1, 1930 in a monthly column that was included in the journal in the 20's and 30's called Good Cheer Quilt Patterns.

FABRICS

You'll need three fabrics for this block, which I will refer to as CACTUS, POT and BACKGROUND .

Note : if you are making this block for the May 2009 Block Lotto, at least one of your fabrics–it can be any of the three–must be be a flower print.

CUTTING

CACTUS Fabric CuttingFrom your CACTUS fabric:

One large triangle*, cut from a 3-7/8 inch square cut diagonally

Two 2-3/8 inch squares*


POT Fabric CuttingFrom your POT fabric:

One large triangle*, cut from a 3-7/8 inch square cut diagonally

Two small triangles, cut from a 2-3/8 inch square, cut diagonally


BACKGROUND Fabric cuttingFrom your BACKGROUND fabric:

One large triangle*, cut from a 3-7/8 inch square cut diagonally

Two 2-3/8 inch squares*

One 2 inch square

Two 2 inch by 3-1/2 inch rectangles

Note: The squares and triangles marked with asterisks* will be used to make half square triangle units. If you like to round up and trim afterward, these pieces can be cut larger.

SEWING THE BLOCK

Join the CACTUS and POT Large Triangles1. Sew the Large triangles of Cactus and Pot to form a square. It should measure 3.5 inches.
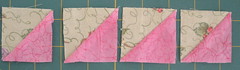
2. Use the 2-3/8 squares of Cactus and Background fabrics to make 4 half square triangle units. They should each measure 2 inches.

The squares of BACKGROUND and CACTUS fabrics form 4 HST Units

3. I find it helpful to lay out these units plus the square of background fabric, to make sure I have the cactus points going in the right direction before sewing them together . . . at least on the first block or two.

Sew two strips, one with two triangle units and the other with two triangle units and the background square.

Layout the triangle squares

4. First attach the strip with the 2 HST units.

Add joined HST units to one side

5. Then add the longer strip to the other side.

Add the other HST units to the other side

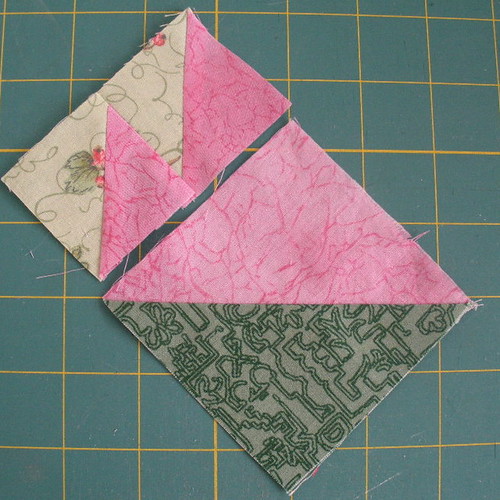
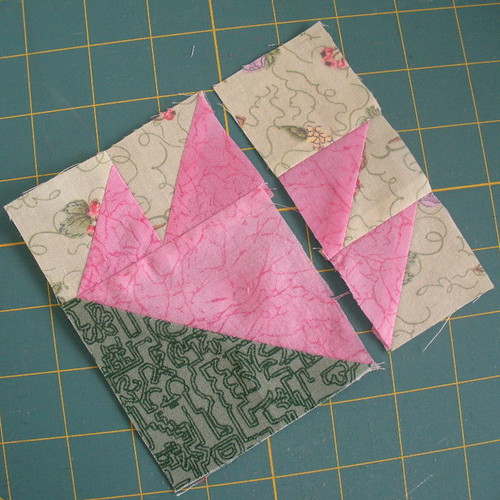
6. Next sew the two small Cactus triangles to the end of the Background rectangles.

You need to be very gentle when sewing and especially pressing these because of the bias edges at the “bottom” of this step.

Join POT small triangles to BACKGROUND rectangles

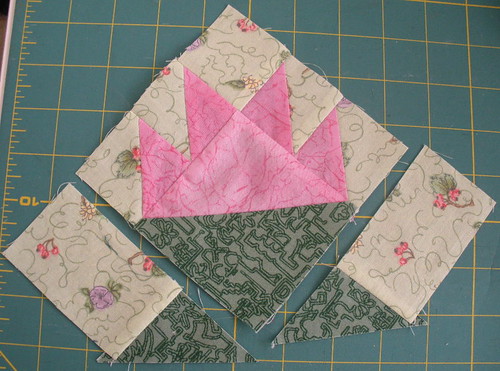
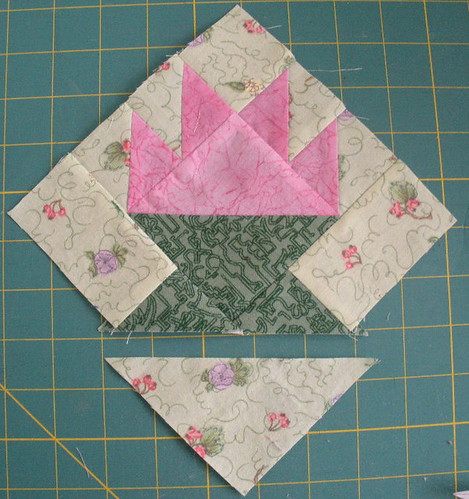
7. After these are sewn to the sides and, again, gently pressed to avoid stretching, the remaining, large background triangle (which should not be cut larger, will fit EXACTLY, to complete the block.

I left the “bunny ears” on the sides to make it a little easier to align the triangle at the bottom. If you trim first, the points will overhang a little so that after the seam is sewn, you have a straight edge.

Add Background triangle to the bottom

You’re done!

You're done

Saturday, April 18, 2009

Pat's Beautiful Disapearing 9-Patch Quilt

Since many people discovered this blog because of my playing around with the Disappearing 9-patch and putting pieced blocks in the corners, I have to share Pat K's quilt, Hearts and Roses.


It was her first attempt at a disappearing 9 patch using the scrappy hearts blocks she won in Block Lotto a little over a year ago. She said that she really enjoyed putting this together because of all the hearts from everyone. I just love how it turns out and the quilting designs she chose really compliment the piecing. She meandered around the blocks and stippled around the hearts. Her friend Diana quilted the border with a digital heart pattern.

Tuesday, March 31, 2009

Thrifty Block Pattern

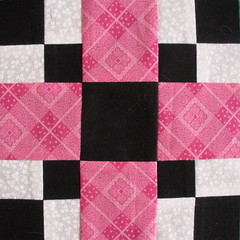
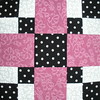
Pink + Black + WhiteThe Thrifty block was first published in 1939 by the Kansas City Star, according to Barbara Brackman's Encyclopedia of Pieced Quilt Blocks.

It's a simple little block that has a lot of design possibilities. I'm thinking about putting some I-spy squares in place of the pink squares. It would make a great alternate block in a sampler quilt (or for a lot of the lotto blocks we make) or a border block. It could be a great swap block or scrap buster by keeping the 4-patch and center squares a consistent color and changing up the 4 squares (pink in my example).

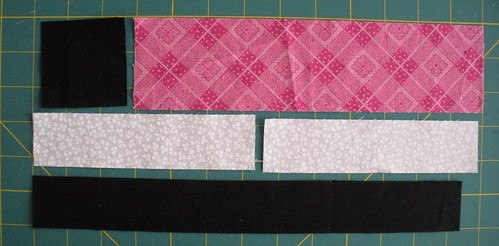
To make a single six inch (finished size) block, you'll need small amounts of fabrics in three colors, illustrated here in Pink, White and Black:

Pink: One 2.5 inch by 10 inch rectangle (or a 5 inch square)
White: One 1.5 inch by 12 inch rectangle (or a pair of 1.5 x 6 inch rectangles if you are working from scraps, as I did)
Black: One 2.5 inch square plus One 1.5 inch by 12 inch rectangle (or a pair of 1.5 x 6 inch rectangles)

Tip: add 1/4-1/2 inch in length to the measurements to the rectangles to give yourself a little wiggle room to square up edges if necessary


Fabric requirements

1. Sew the black and white long rectangles together along the long edges.

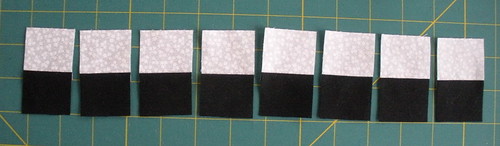
2. Press the seam allowance toward the black side. Slice into eight 1.5 inch sub-units.

Press and cut eight 1.5 inch sub-units

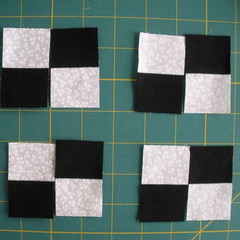
3. Use these to sew four 4-patches. After your 4-patch units are sewn and pressed, they should measure 2.5 inches square.

Sew four 4-patches

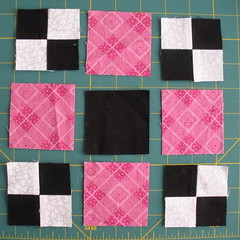
4. Cut your Pink rectangle (or 5 inch square) into four 2.5 inch squares and lay out the units of your block, 9 patch fashion.

Units laid out as 9-Patch

5. Assemble your block.

Pink + Black + White


. . . And then, because that was so quick, make a couple more

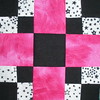
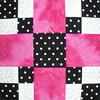
Pink + Black + Black & White Pink + Black & White + White

Then, you might be inspired to pull out some more black and white and pink scraps and think about making some more . . .

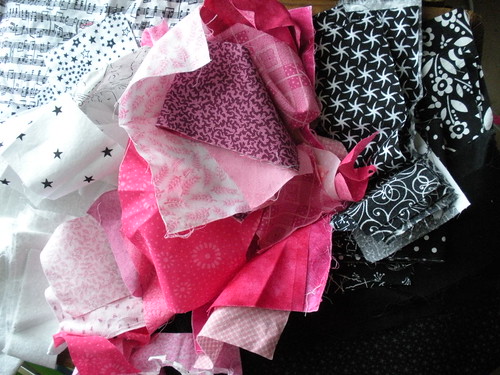
Fabric Scraps I used to make blocks

Like I did ;-)

Pink + Black + White Thrifty block #15 Thrifty block #14
Thrifty block #13 Thrifty block #12 Thrifty block #11
Thrifty block #10 Thrifty block #6 Thrifty block #8
Thrifty block #7 Thrifty block #5 Thrifty block #9

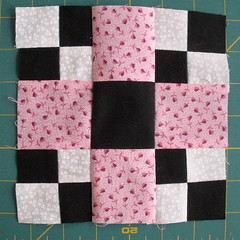
The thing to be careful of when you make this block is that you always end up with a nice "X" and that your blocks don't look like this when your done.

An OOPS block example

It's easier than you think to OOPS . . . and I offer this photo as proof positive of that fact ;-)